Instant Terra

Creating and setting up an Instant Terra node in Houdini

Creating an Instant Terra node in Houdini

Start Houdini. Create a new project or open an existing project.

Create or select a Heightfield node and press the Enter key, or double click on the node to enter the Geometry mode.

houdini heightfield
geometry mode

Create an Instant Terra node.

create instant terra node
instant terra node

Setting up the Instant Terra node

Here is the initial window of the node.

The first thing to do is to select an Instant Terra project (.terrain file).
To do so, either click on the file selection button to open the floating file chooser or directly enter the path of the file.
The Instant Terra file is then loaded. It usually takes a few seconds, but it can take longer if your Instant Terra project is big or contains large files to import.

instant terra node properties

The following window appears when loading the project.

loading project

Cooking the Instant Terra node

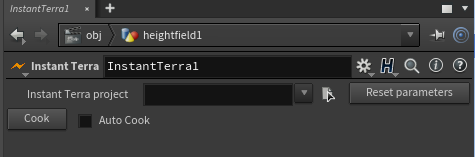
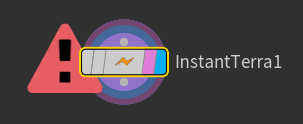
Click on the Cook button to ask Instant Terra to generate or modify the terrain.
The duration of the Cook operation depends on the complexity of the Instant Terra project, the nodes that are used (for instance, erosion nodes take longer to compute), and the size of the terrain.

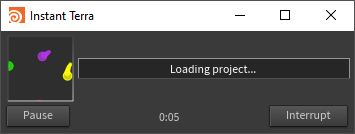
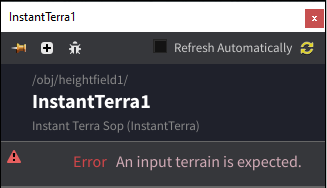
The following window appears when cooking the node.

cooking instant terra node

If the Instant Terra project requires an input terrain, i.e. it has a Terrain from Houdini node, you need to provide input geometry as shown here.

input heightfield

If no input geometry is provided, an error message is shown.

missing input
error message

Enabling auto cooking

Check the Auto cook checkbox to enable auto cooking.
When auto cooking is enabled, the node will be cooked automatically each time the input geometry changes or a parameter of the node changes (see next section about parameters).

-->